


Installation Guide
When install Luminlay, please pay attention to the following:
a) Use a high-speed drill. If the drill is too slow, fingerboard material may be damaged.
b) While either a metalworking drill bit or a woodworking drill bit may be used during installation, a woodworking drill bit will make centering easier.
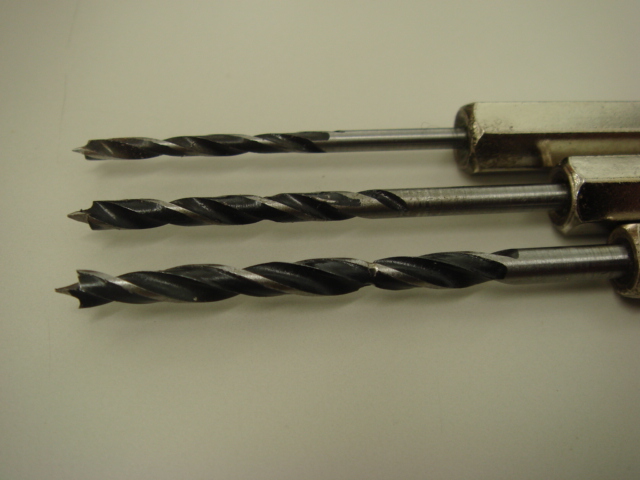
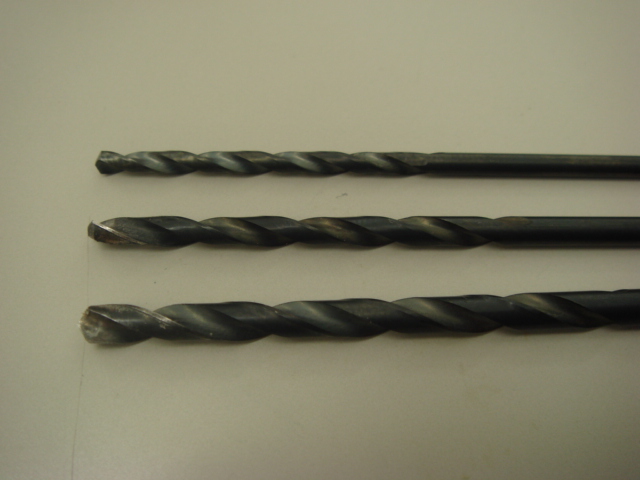
woodworking drill bits metalworking drill bits
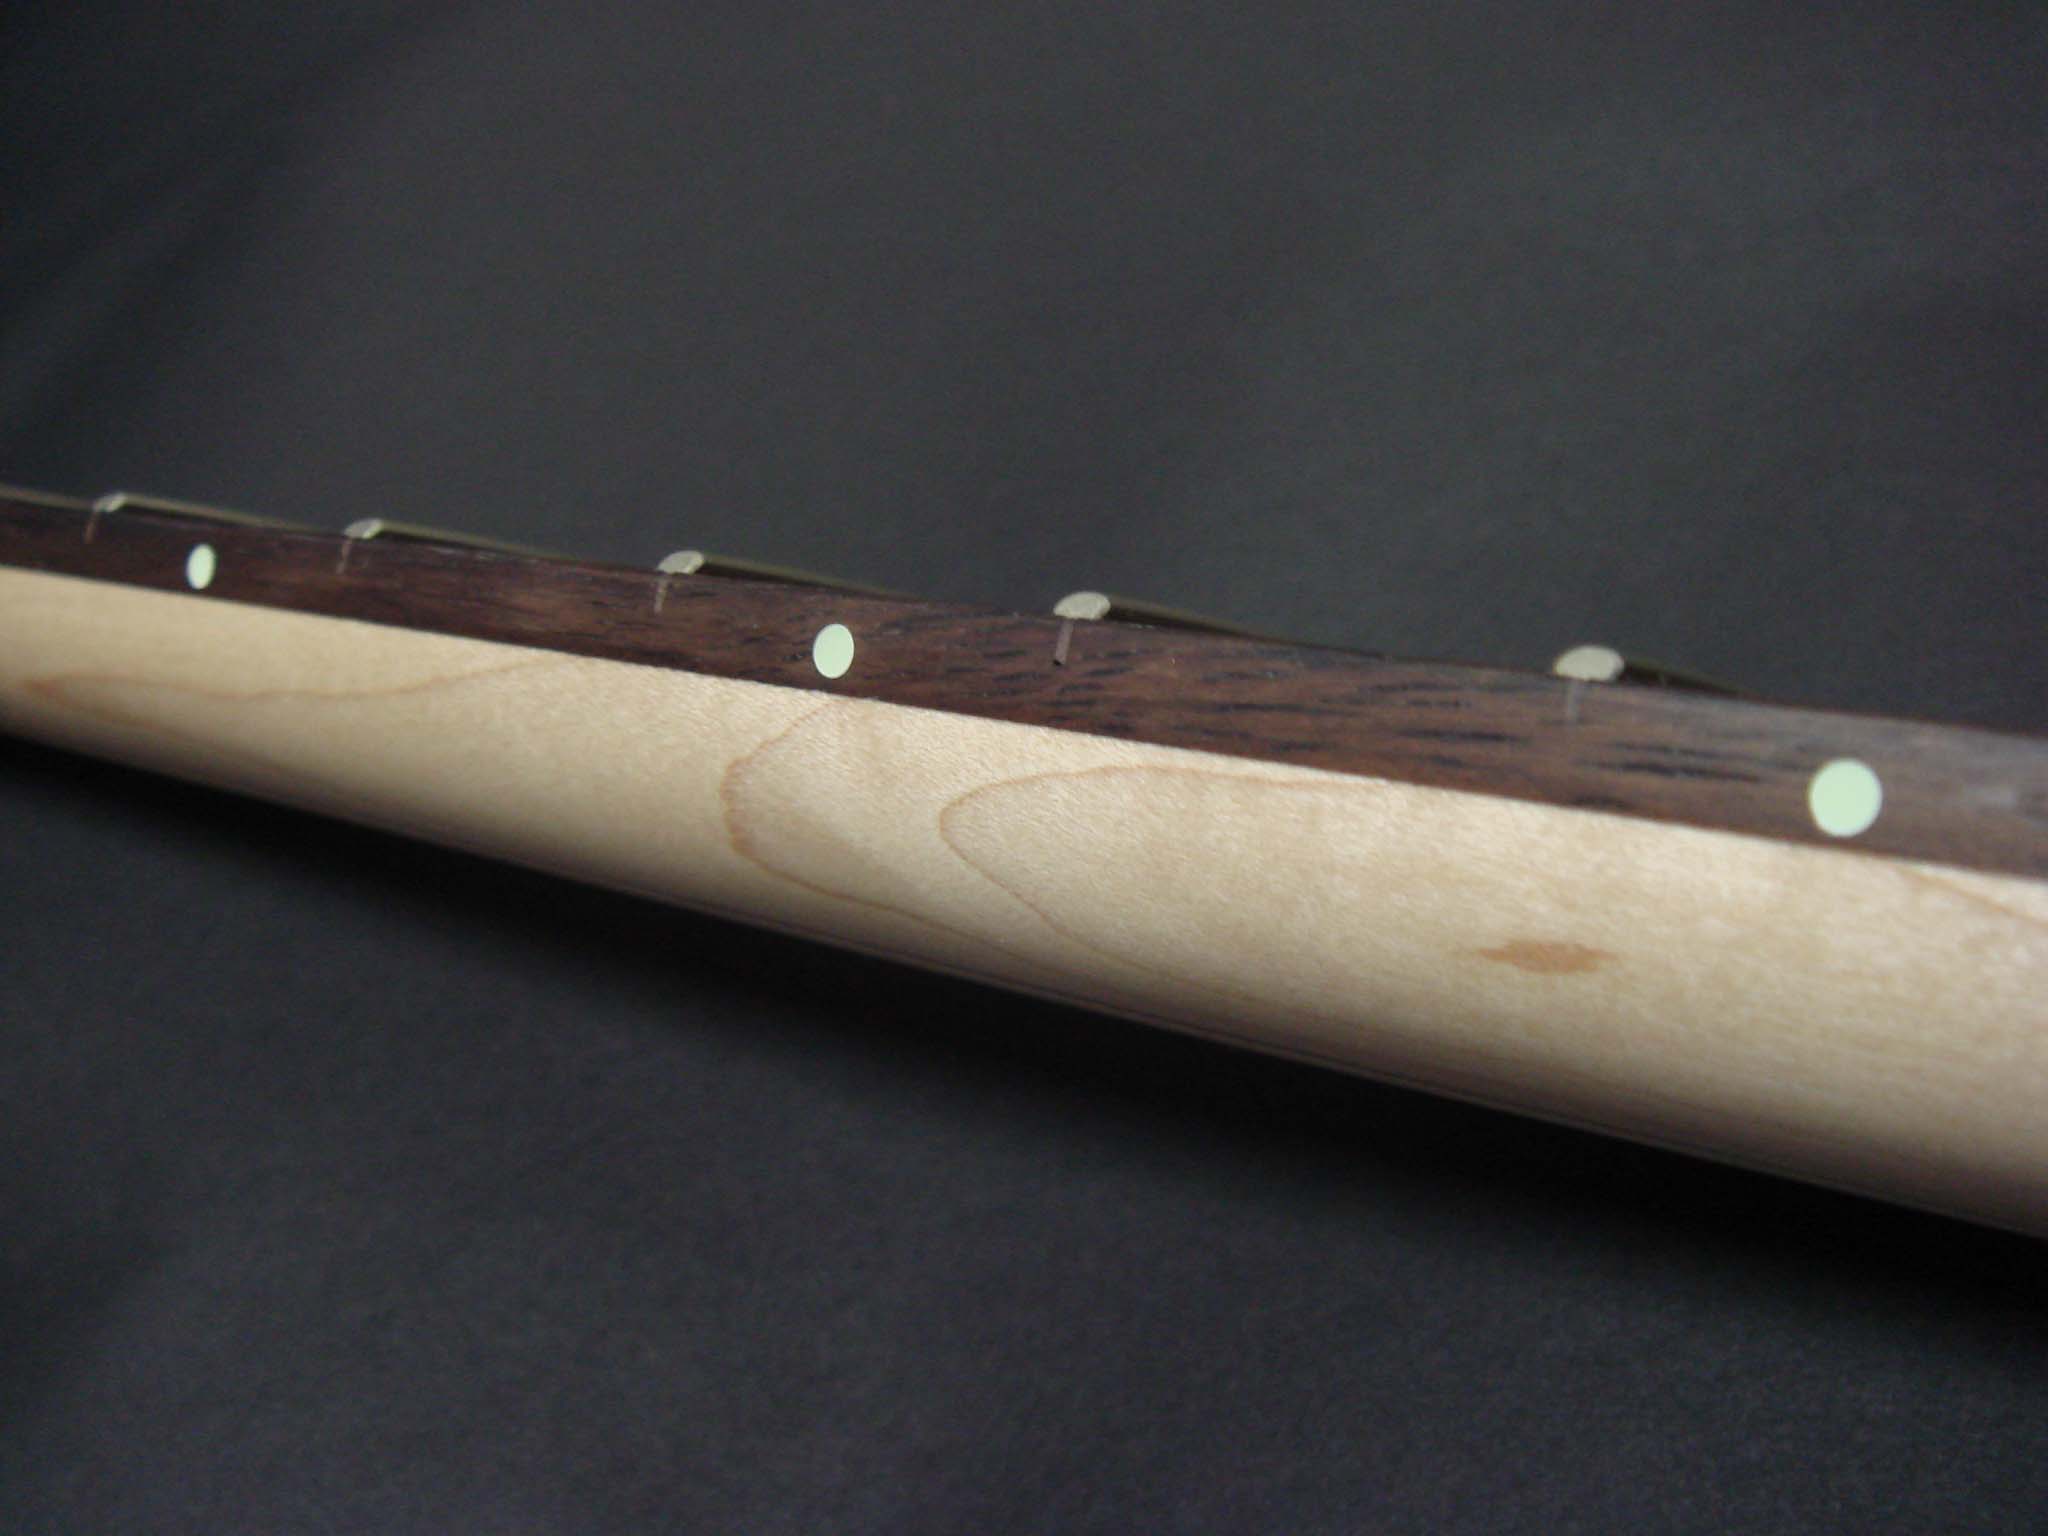
Step1
Place masking tape on the fingerboard and mark the drilling location.

Step2
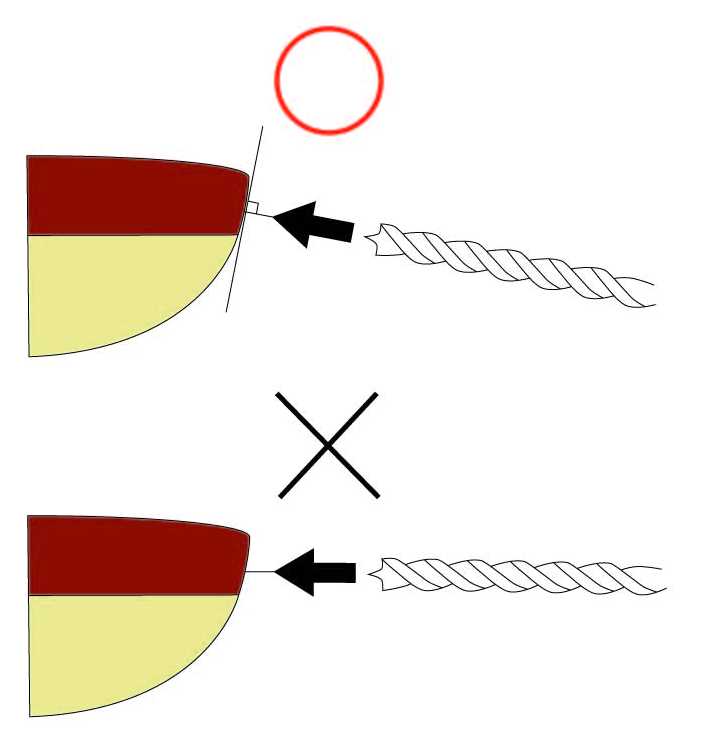
Place the neck on the drilling machine and drill holes 3~4mm in depth. The drilling direction for side position markers should be vertical to the fingerboard curve.
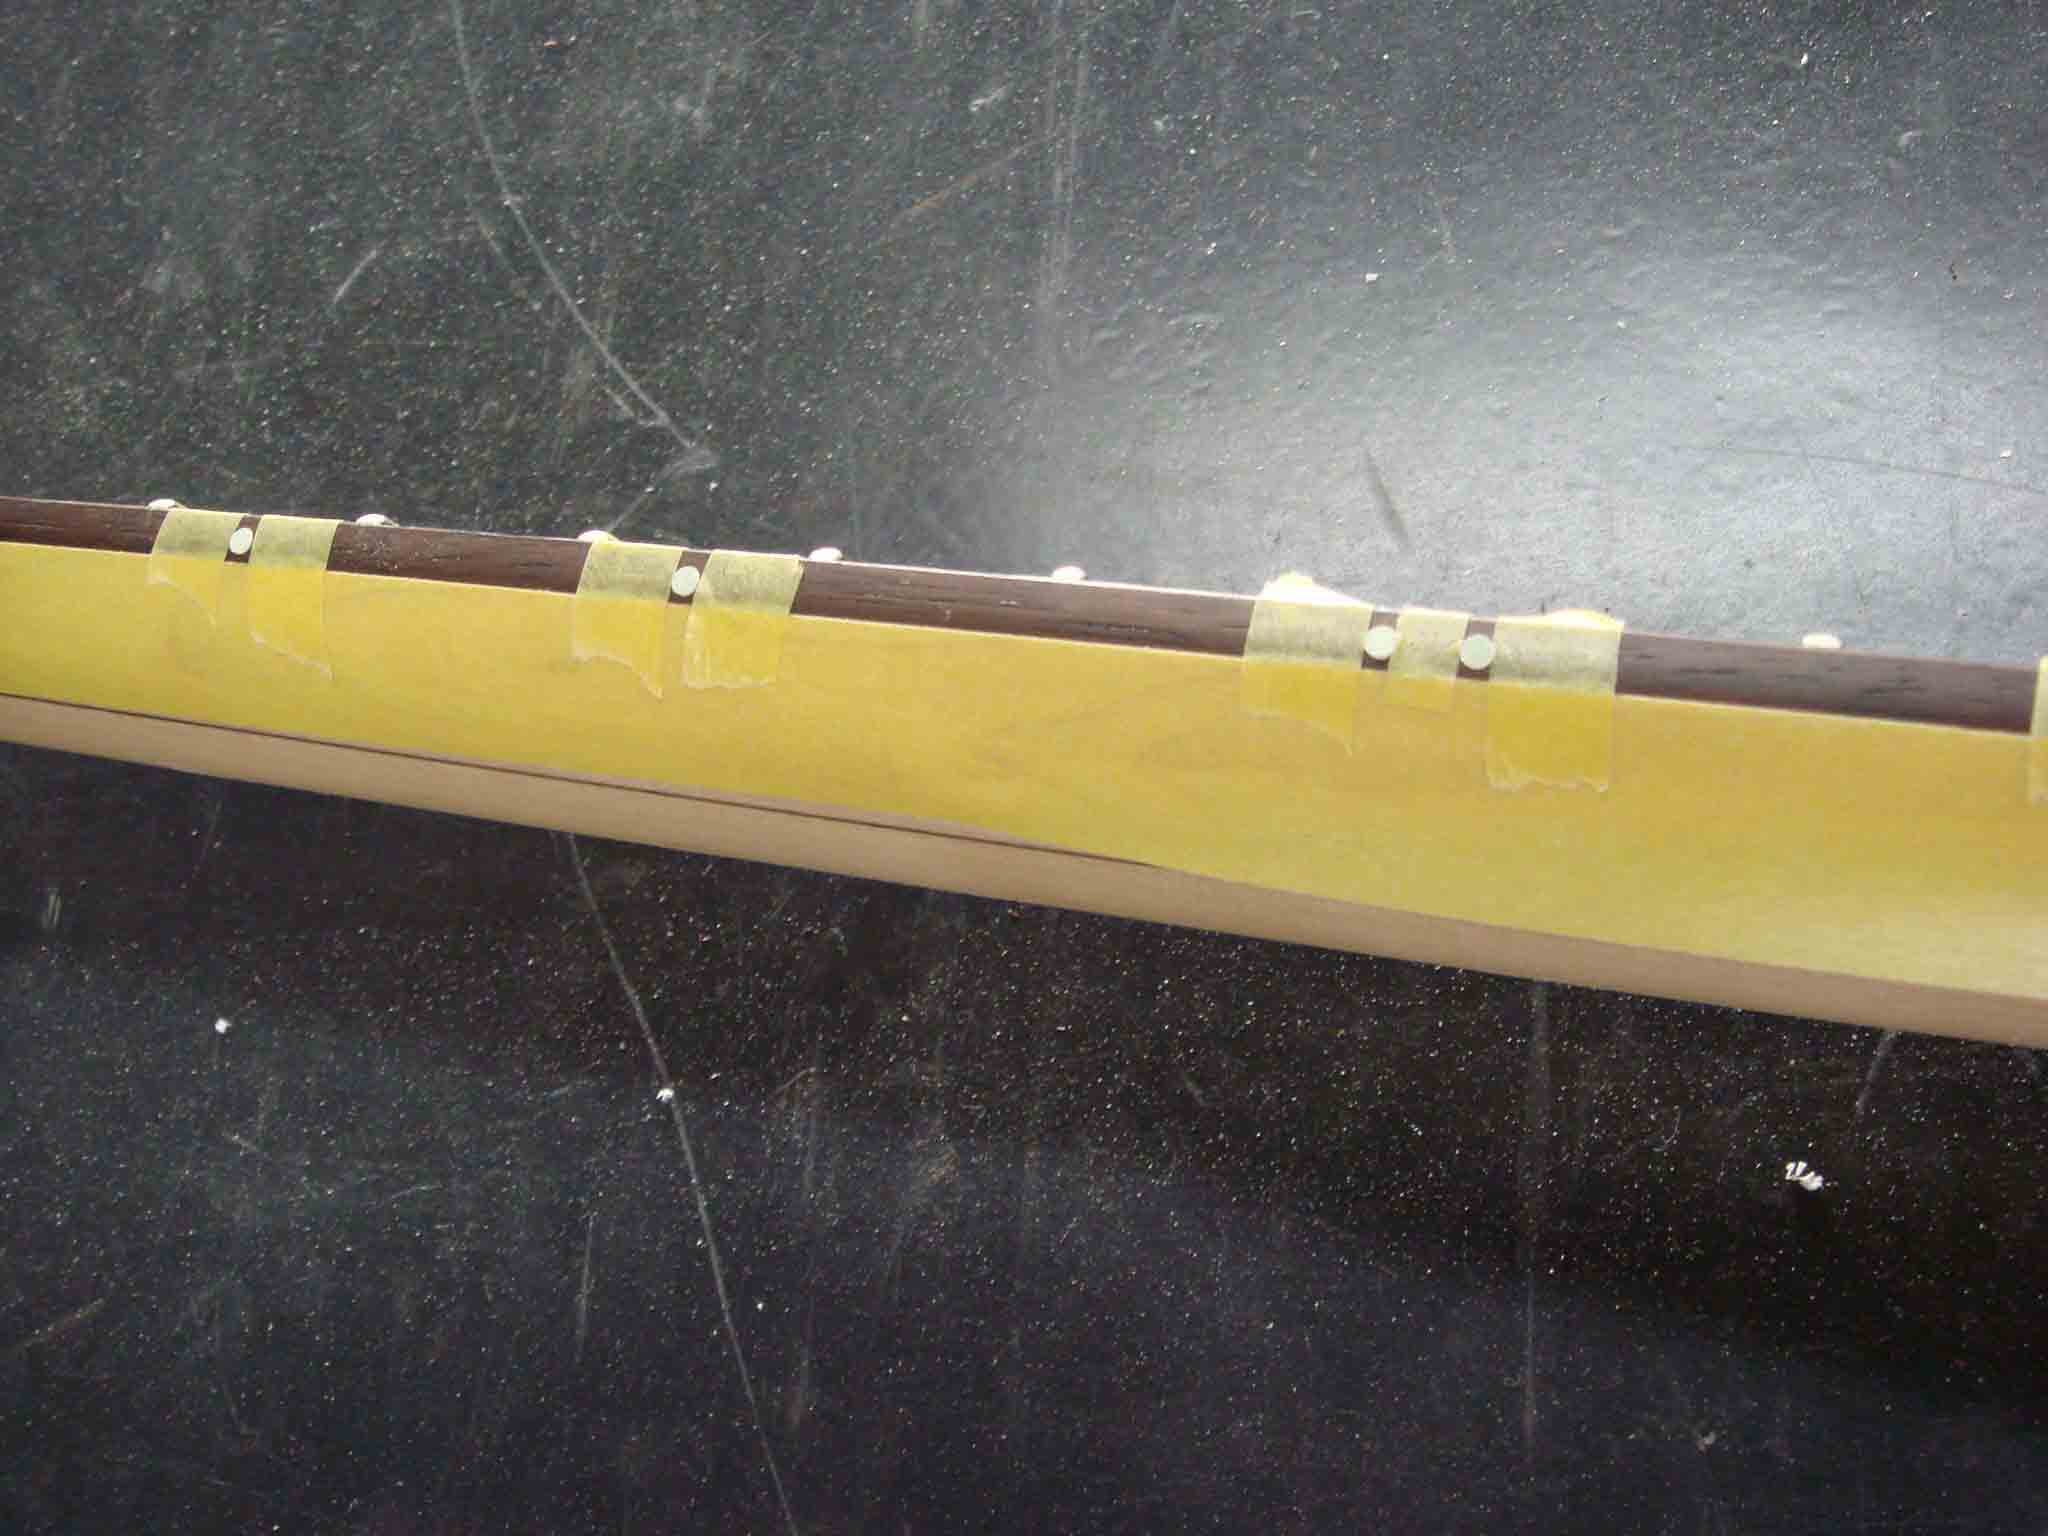
Step3
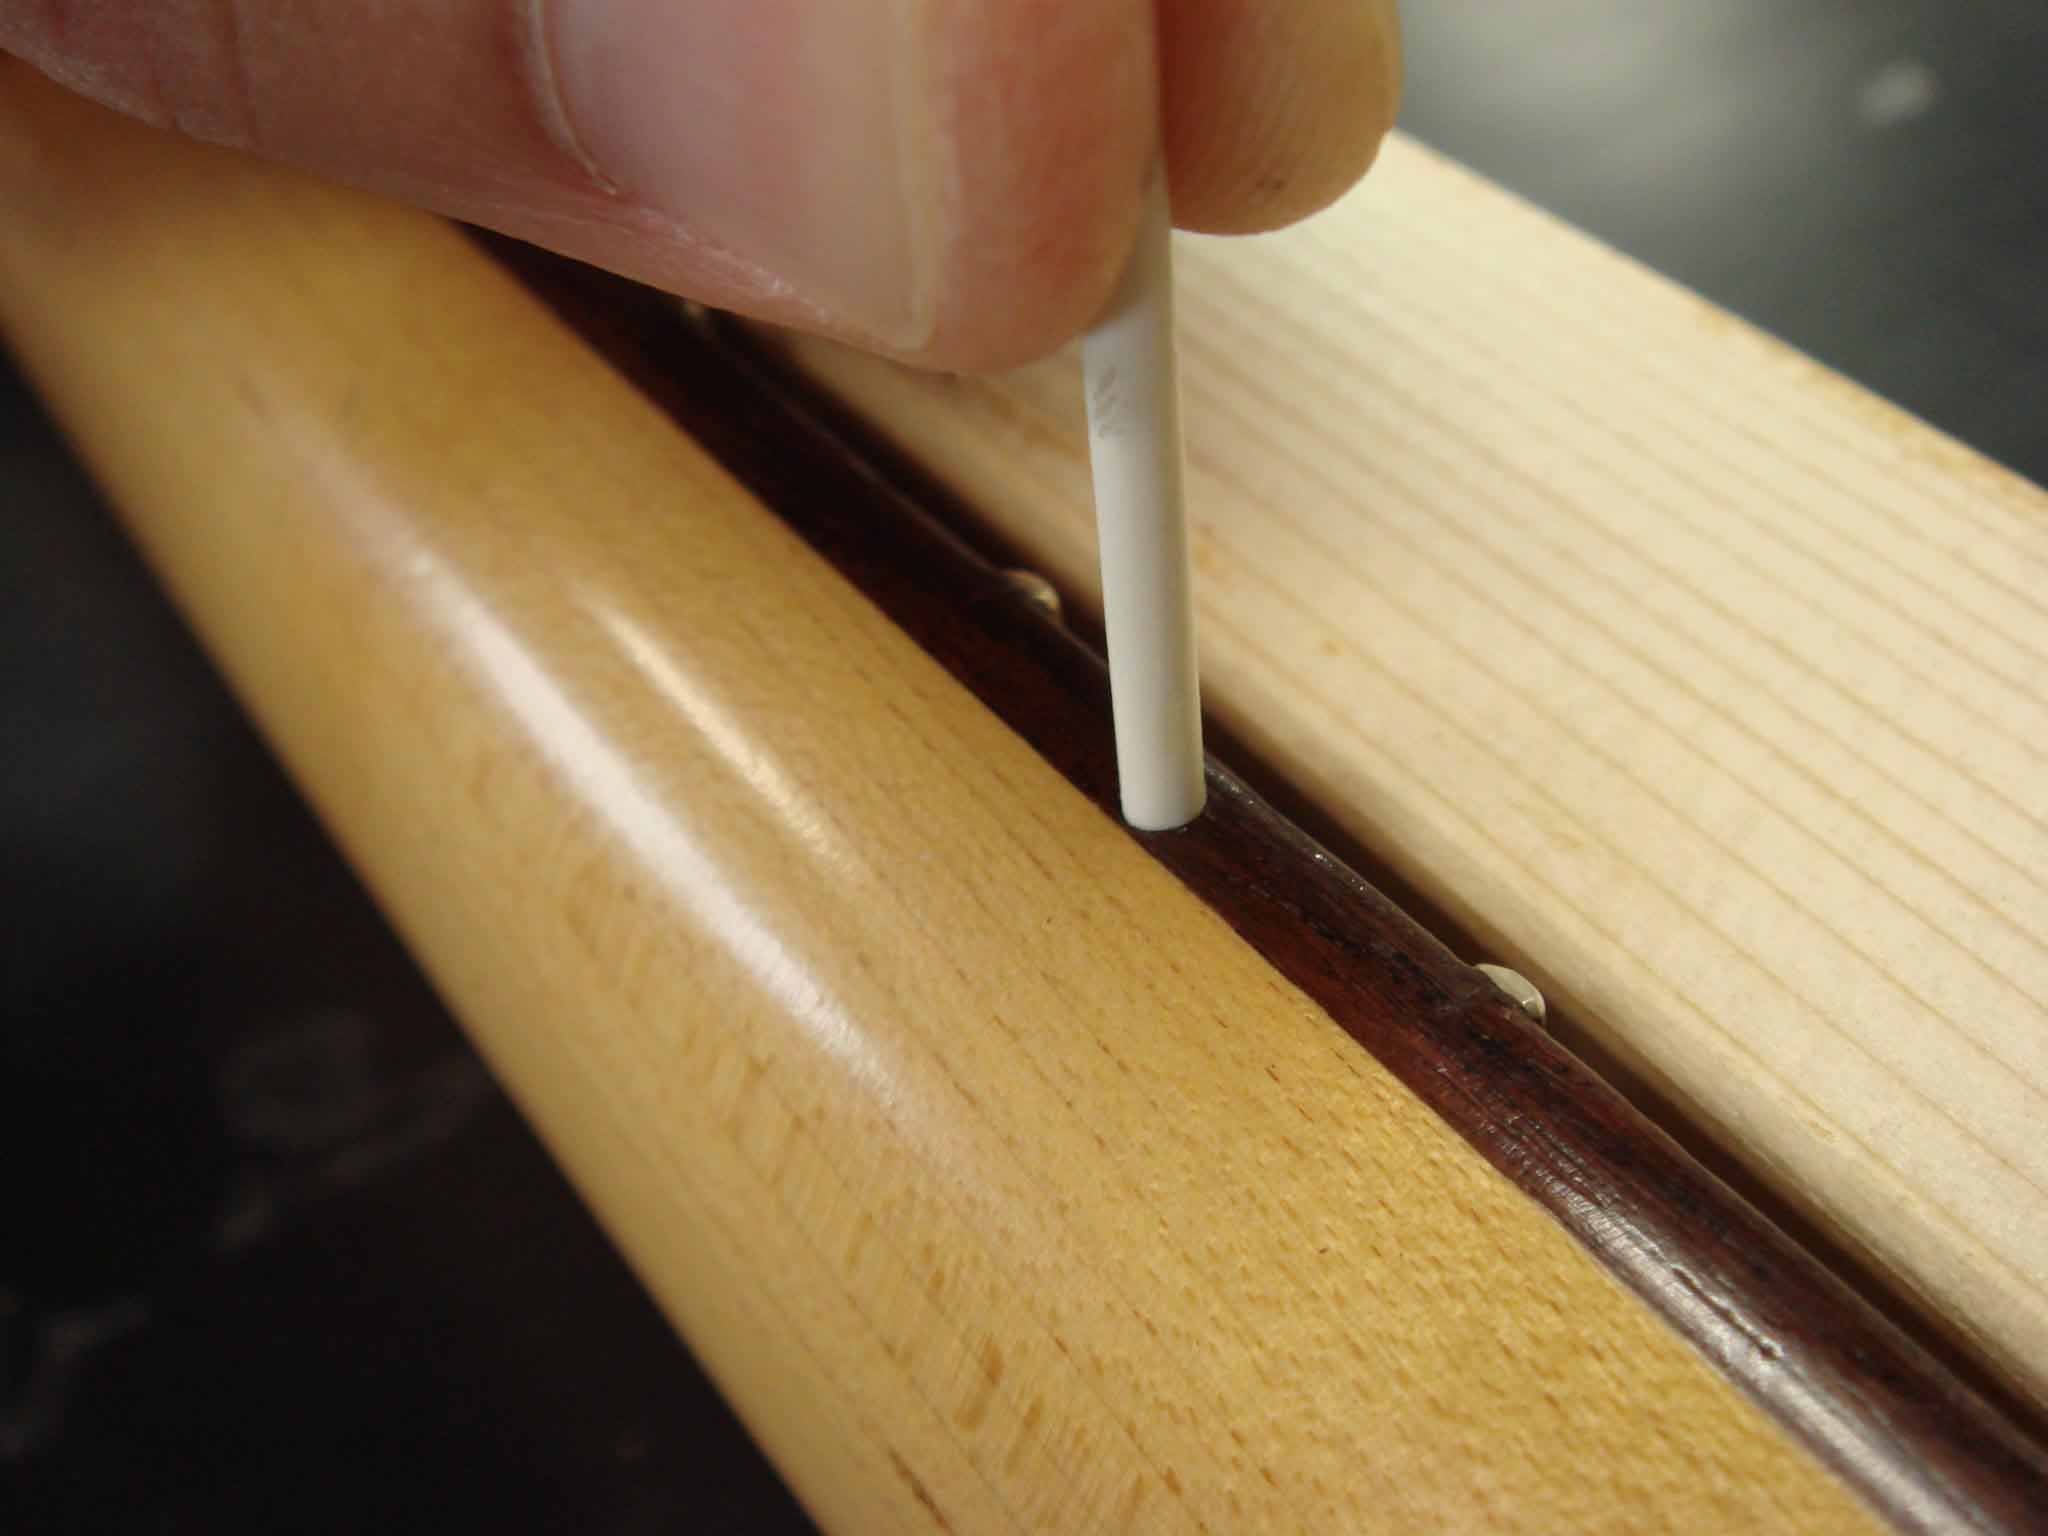
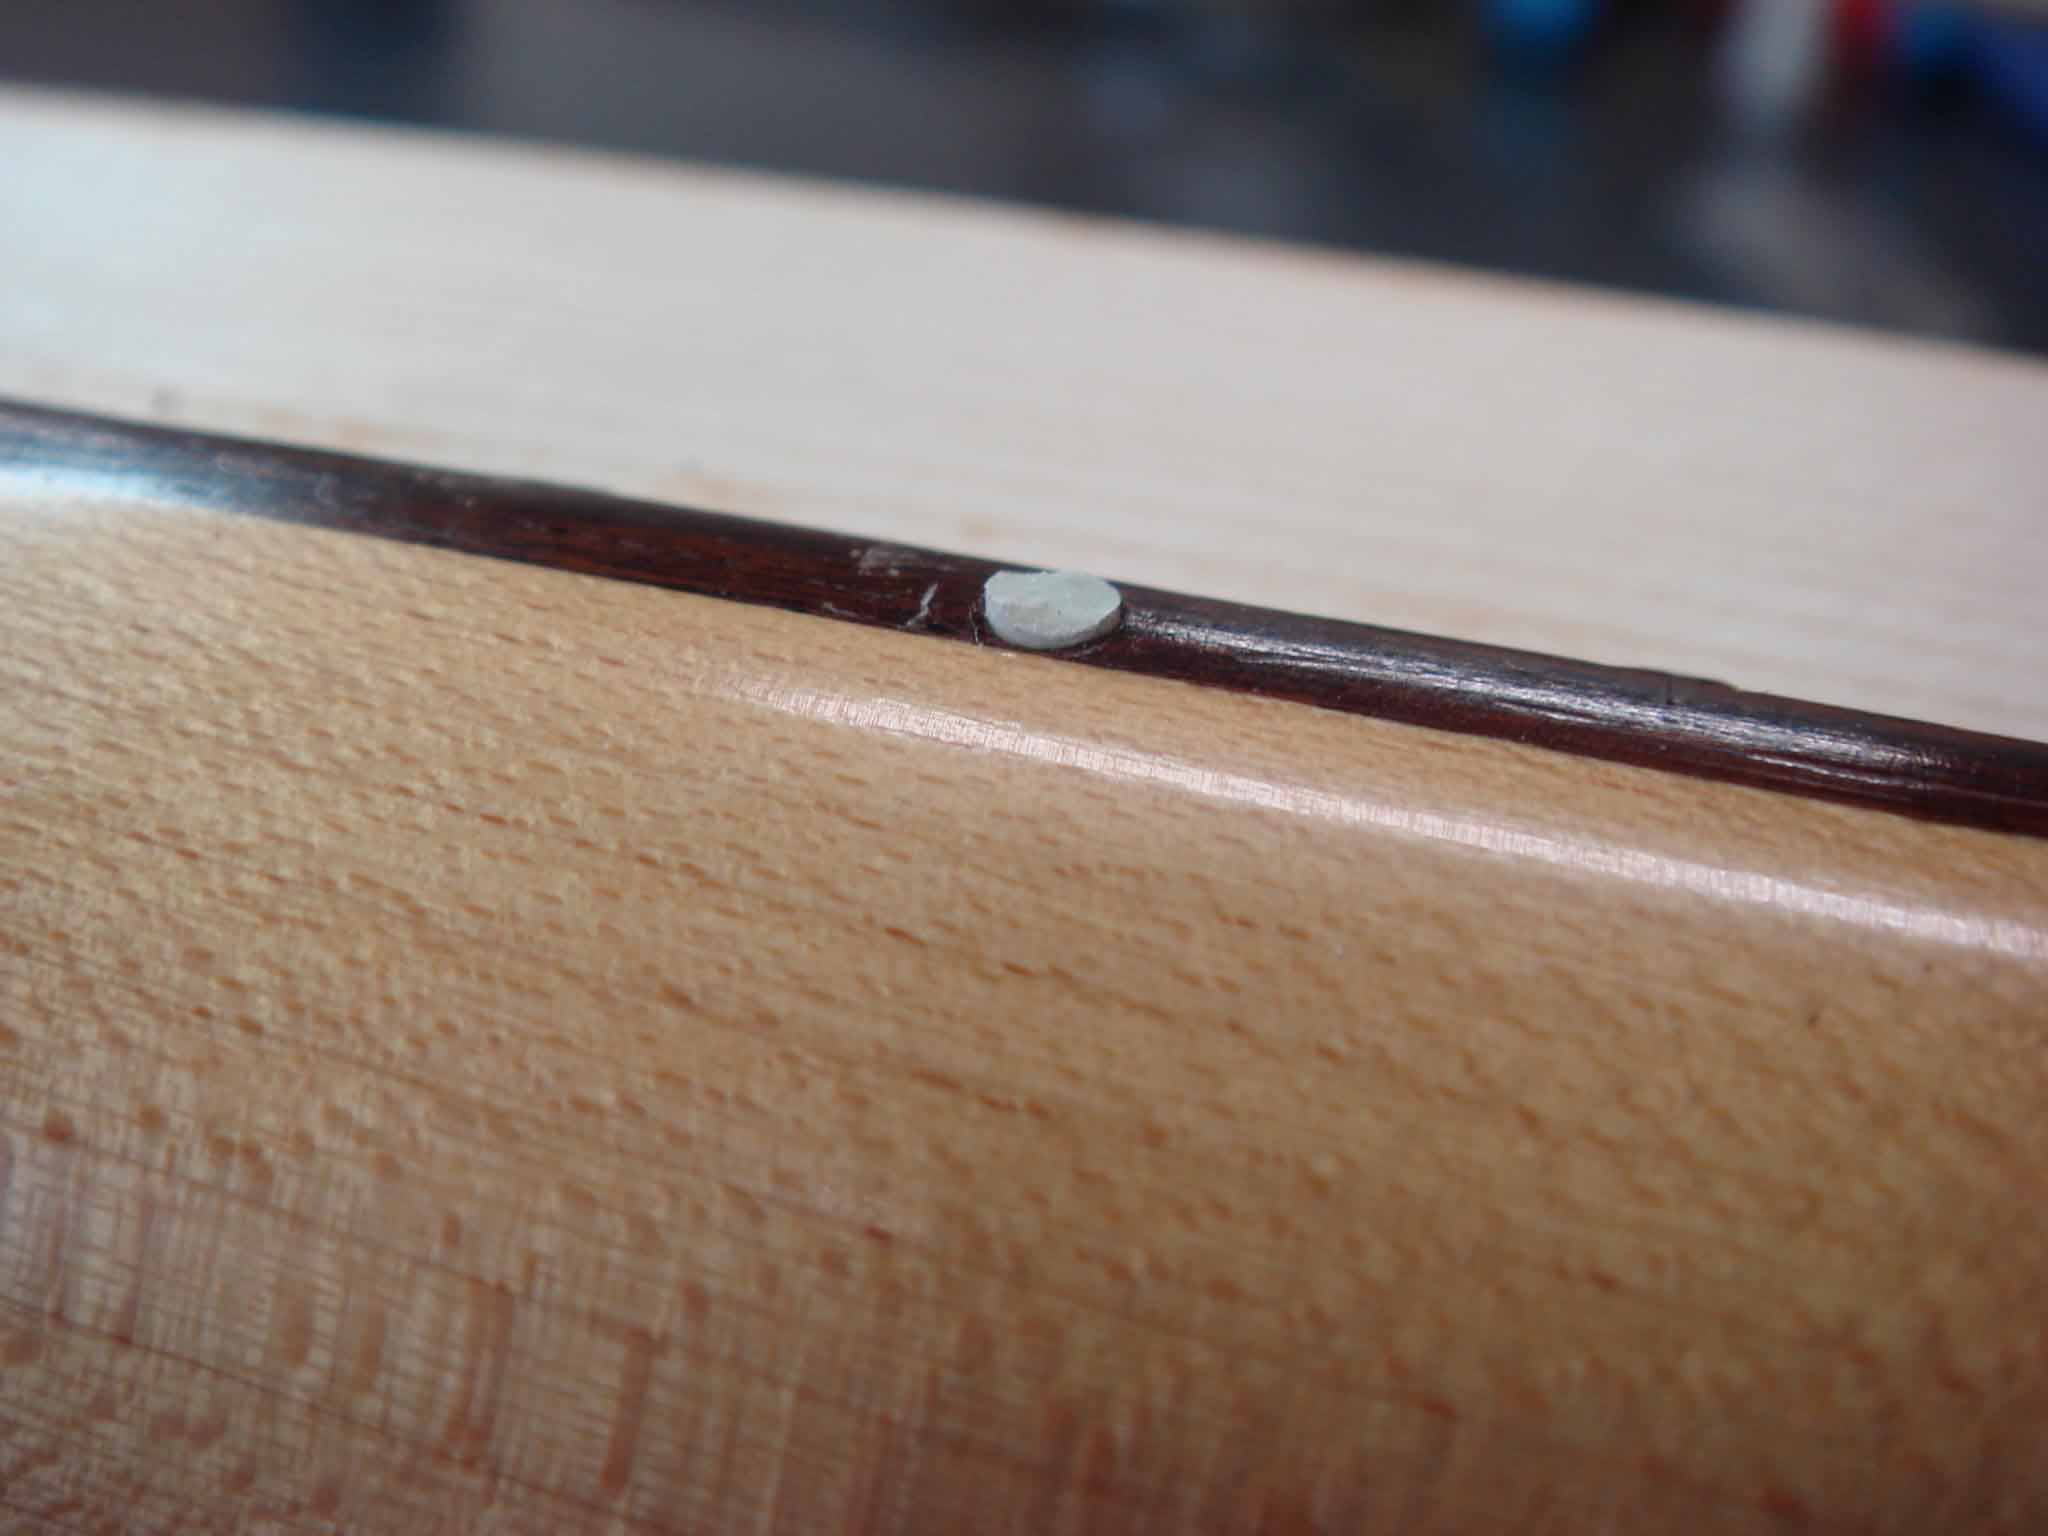
Put instant glue on the bottom of Luminlay and push Luminlay into the newly drilled hole. Hammer in gently until the position marker stops. Cut Luminlay just above the fingerboard surface.
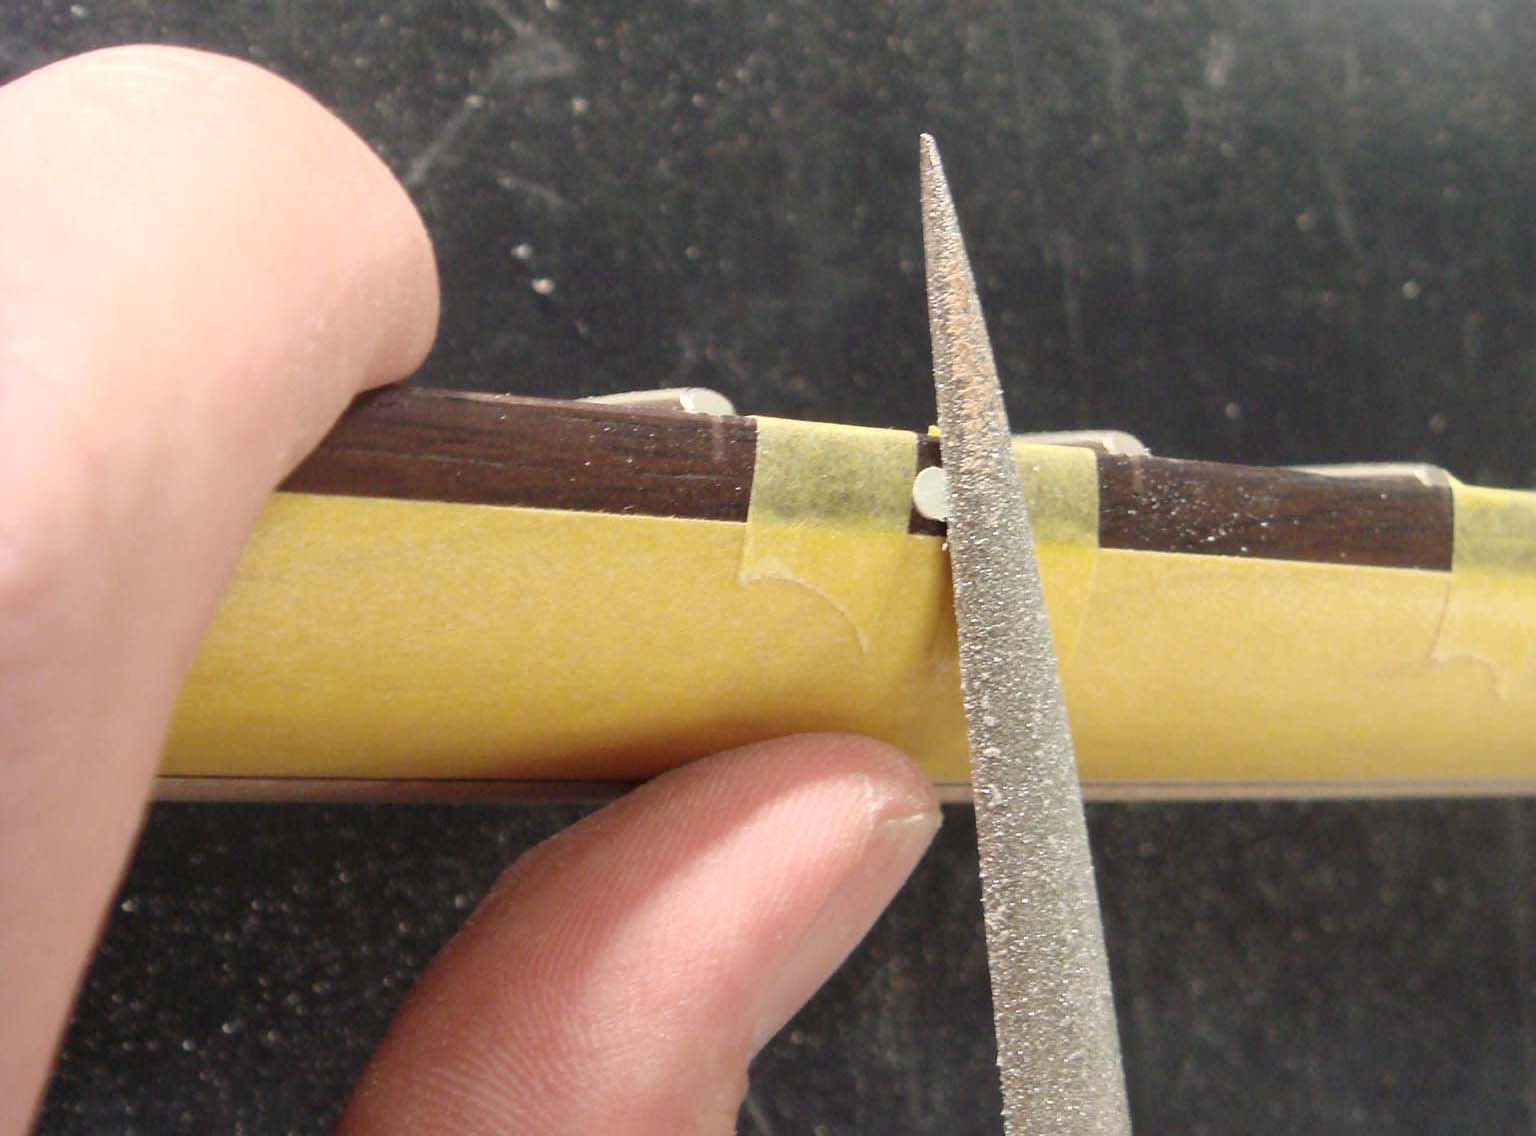
Step4
Use masking tape as shown in the picture below. File Luminlay down by using a fine file and stop when the file begins to make contact with the masking tape. Next, attach 180-grit sandpaper to a piece of hard, flat wood and sand the fingerboard in a motion parallel to the strings until the surface is smooth.

Step5
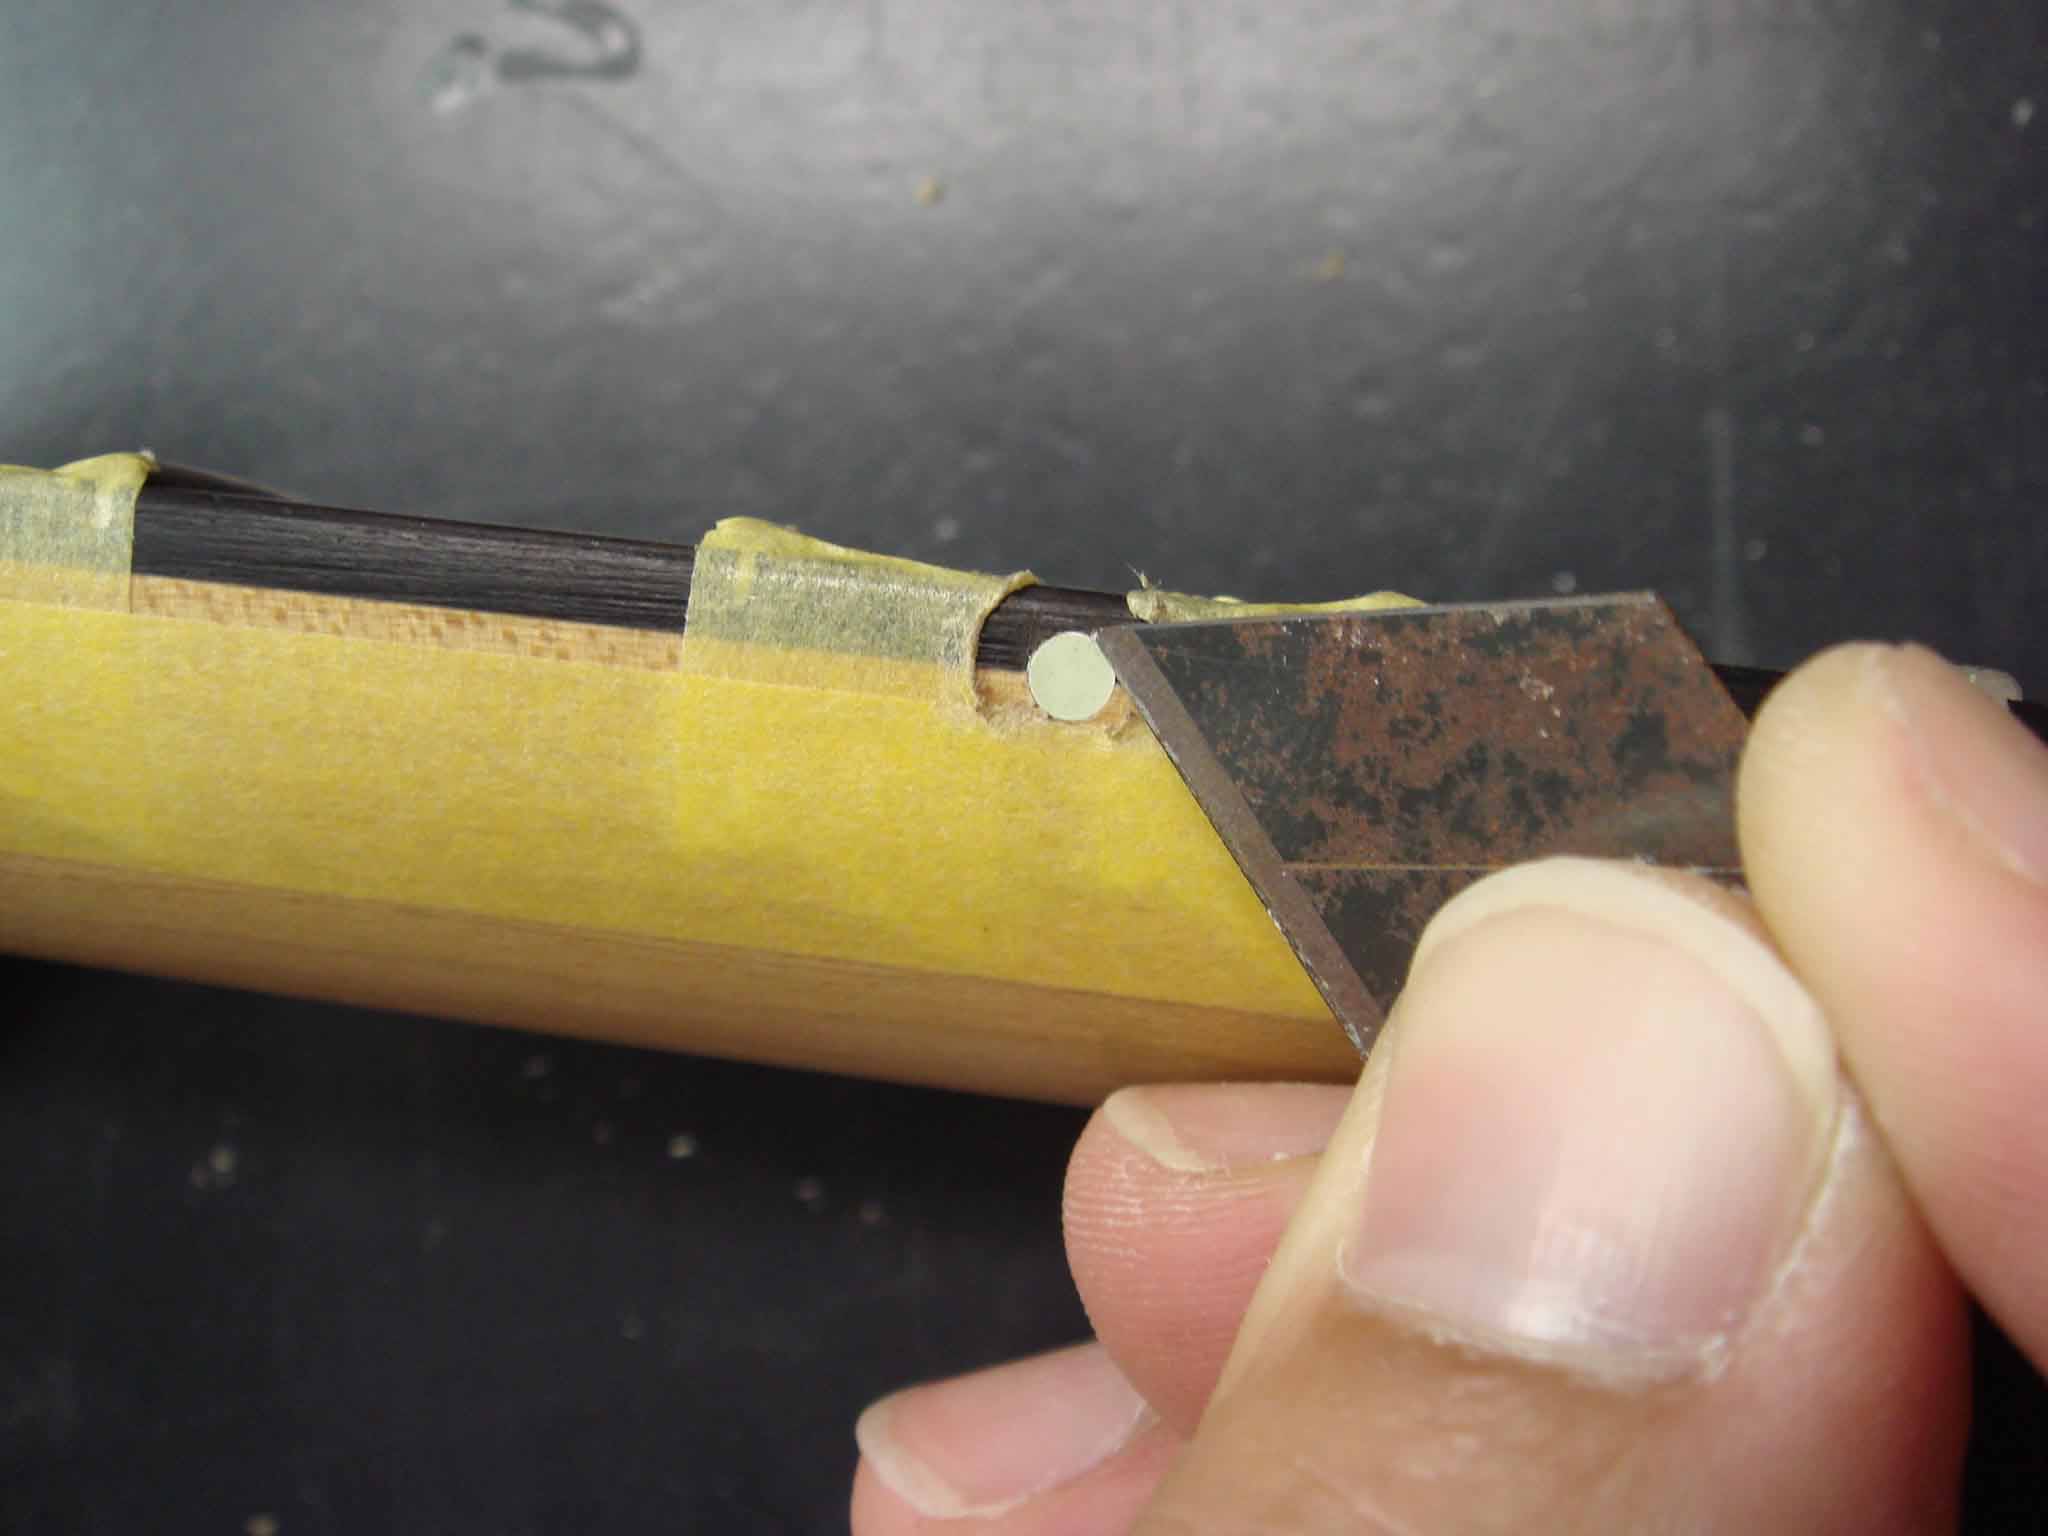
Continue to sand using 240, 320, or 400-grig sandpaper (again, using a motion parallel to the strings). The objective here is to remove any scratches from the previous sandpaper. For more smoothness, 600 or even 800-grit sandpaper may be used. Any residual paint from the installation of the position markers can be removed by using a sharp cutter(as shown in the picture below).
Step6
Put some oil on a cloth and polish the side of fingerboard slightly( If you spray paint on the fingerboard, there is no need for polishing).
Installation of Luminlay is now complete.